
欢迎光临好主题官网!致力于 WordPress 企业主题定制开发及 WP外贸模板下载。

在 WordPress 开发中,我们经常会遇到这样的需求:
case 展示项目或案例;/case/123.html 或 /case/my-slug.html,符合静态页面结构;/case/ 是一个由 Elementor 或 ACF 制作的普通页面(非 archive),可以自由编辑;本文将一步步带你使用纯代码实现这个需求,避开 WordPress 的伪静态规则限制,打造一个 SEO 友好 + 灵活定制 + 100% 插件无依赖 的解决方案。
| 页面类型 | 示例 URL | 实现说明 |
|---|---|---|
| 自定义页面 | /case/ |
使用 Elementor/ACF 自由编辑 |
| 单个文章页面 | /case/123.html 或 /case/slug.html |
自定义文章类型的单篇页面 |
WordPress 中若你将 CPT 设置为 slug = case,同时创建一个同名页面 case,会产生路由冲突:
/case/ 会优先匹配 CPT 的 archive;.html。即使你关闭了 has_archive,WordPress 的 rewrite 规则仍然会保留 /case/ 作为内部保留路径,仍无法用页面占用。
add_action('init', function () {
    register_post_type('case', [
        'label' => '案例',
        'public' => true,
        'has_archive' => false,
        'rewrite' => [
            'slug' => 'case-item', // 避免和页面 slug 冲突
            'with_front' => false
        ],
        'supports' => ['title', 'editor', 'thumbnail'],
    ]);
});
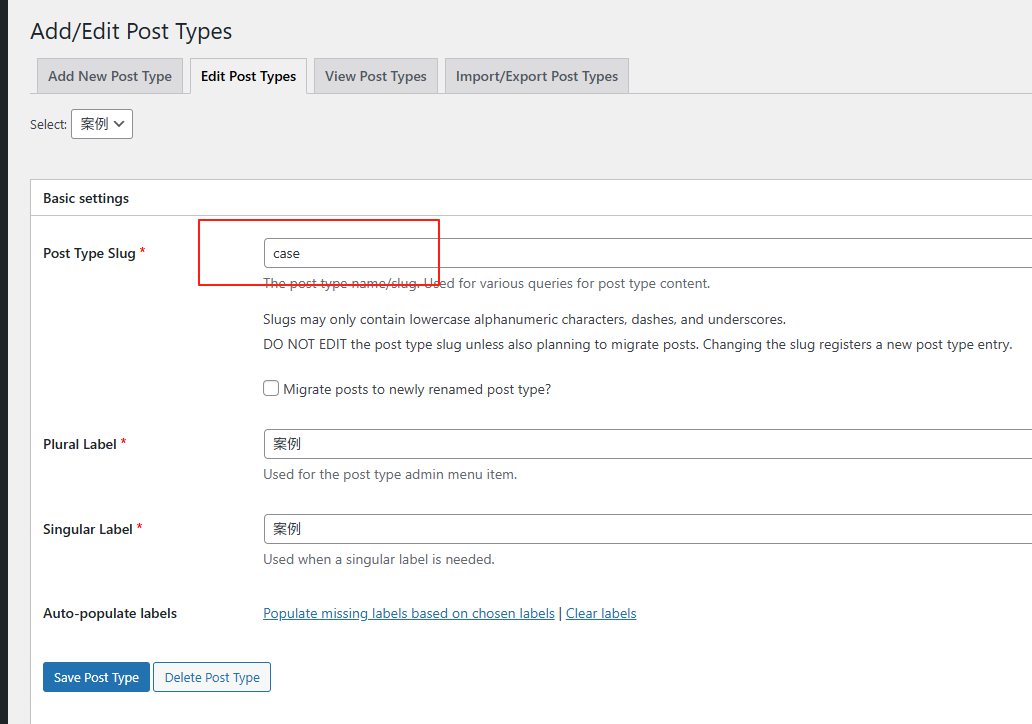
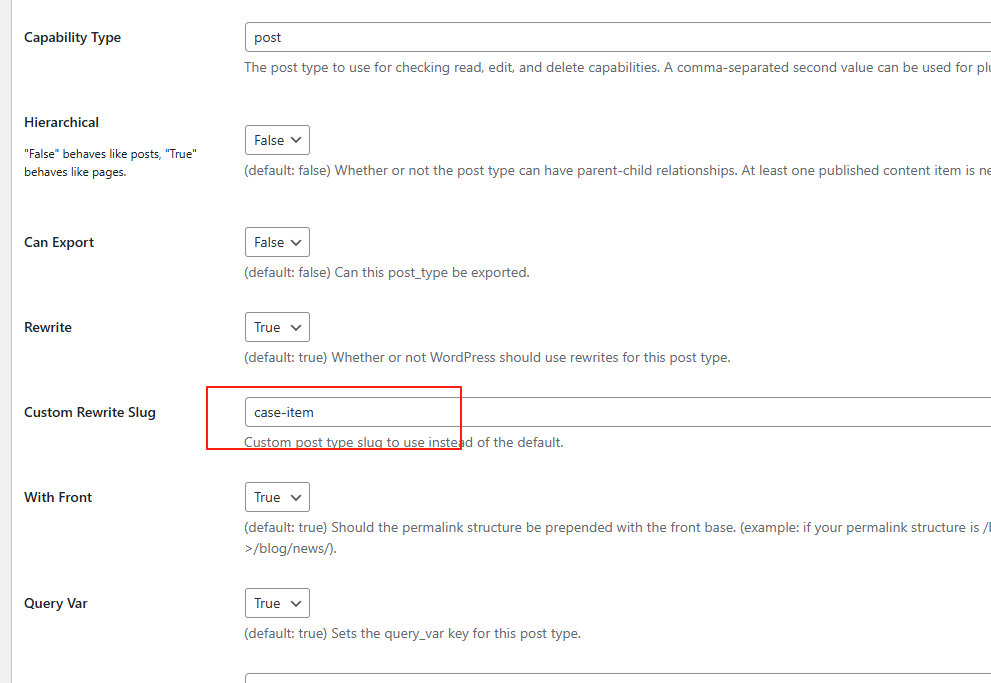
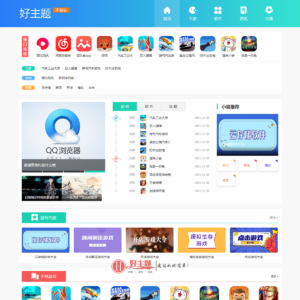
如果你用的是Custom Post Type UI 插件,设置效果如下

.htmladd_filter('post_type_link', function ($post_link, $post) {
if ($post->post_type === 'case') {
return home_url('/case/' . $post->ID . '.html');
}
return $post_link;
}, 10, 2);
.html 解析add_action('init', function () {
add_rewrite_rule(
'^case/([0-9]+)\.html$',
'index.php?post_type=case&p=$matches',
'top'
);
});
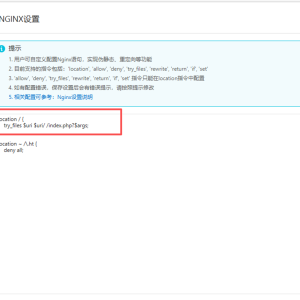
⚠️ 务必刷新固定链接: 后台 → 设置 → 固定链接 → 保存更改。
/case/ 并自由编辑此时因为 has_archive 设置为 false,你可以:
case;/case/,不会和 CPT archive 冲突。/case/slug.html 而非 /case/ID.htmlpost_type_link:add_filter('post_type_link', function ($post_link, $post) {
if ($post->post_type === 'case') {
return home_url('/case/' . $post->post_name . '.html');
}
return $post_link;
}, 10, 2);
add_action('init', function () {
    add_rewrite_rule(
        '^case/([^/]+)\.html$',
        'index.php?case=$matches',
        'top'
    );
});
add_filter('query_vars', function ($vars) {
    $vars[] = 'case';
    return $vars;
});
add_action('pre_get_posts', function ($query) {
    if (!is_admin() && $query->is_main_query() && get_query_var('case')) {
        $slug = get_query_var('case');
        $post = get_page_by_path($slug, OBJECT, 'case');
        if ($post) {
            $query->set('p', $post->ID);
            $query->set('post_type', 'case');
            $query->is_single = true;
            $query->is_page = false;
        }
    }
});
| 功能点 | 说明 |
|---|---|
✅ 支持 .html 后缀 |
URL 如 /case/123.html、/case/my-slug.html |
✅ 页面 /case/ 可编辑 |
Elementor、ACF 自由编辑,无 archive 冲突 |
| ✅ 无需插件 | 不依赖 Permalink Manager、Rewrite 插件等 |
| ✅ SEO 友好结构 | 自定义结构简洁清晰,利于爬虫索引 |
single-case.php 模板自定义显示样式;通过几段简单但灵活的代码,我们成功实现了:
case 页面用于视觉构建与字段展示;.html 静态风格,利于 SEO;这就是 WordPress 可定制性的魅力所在。希望本文对你有所帮助!如果你也在构建主题或插件,欢迎留言交流。
本文由 好主题 原创整理,致力于分享实用的 WordPress 建站知识与主题开发经验。 我们专注于提供高质量的 WordPress企业主题 资源,帮助中小企业轻松构建专业网站。 转载请注明来源,并保留原文链接,感谢您的支持与理解。


登录您的账户,享受会员专属服务
成为会员,获得更多专属优惠!


